Sound Reactive LED Controller Kit
Description
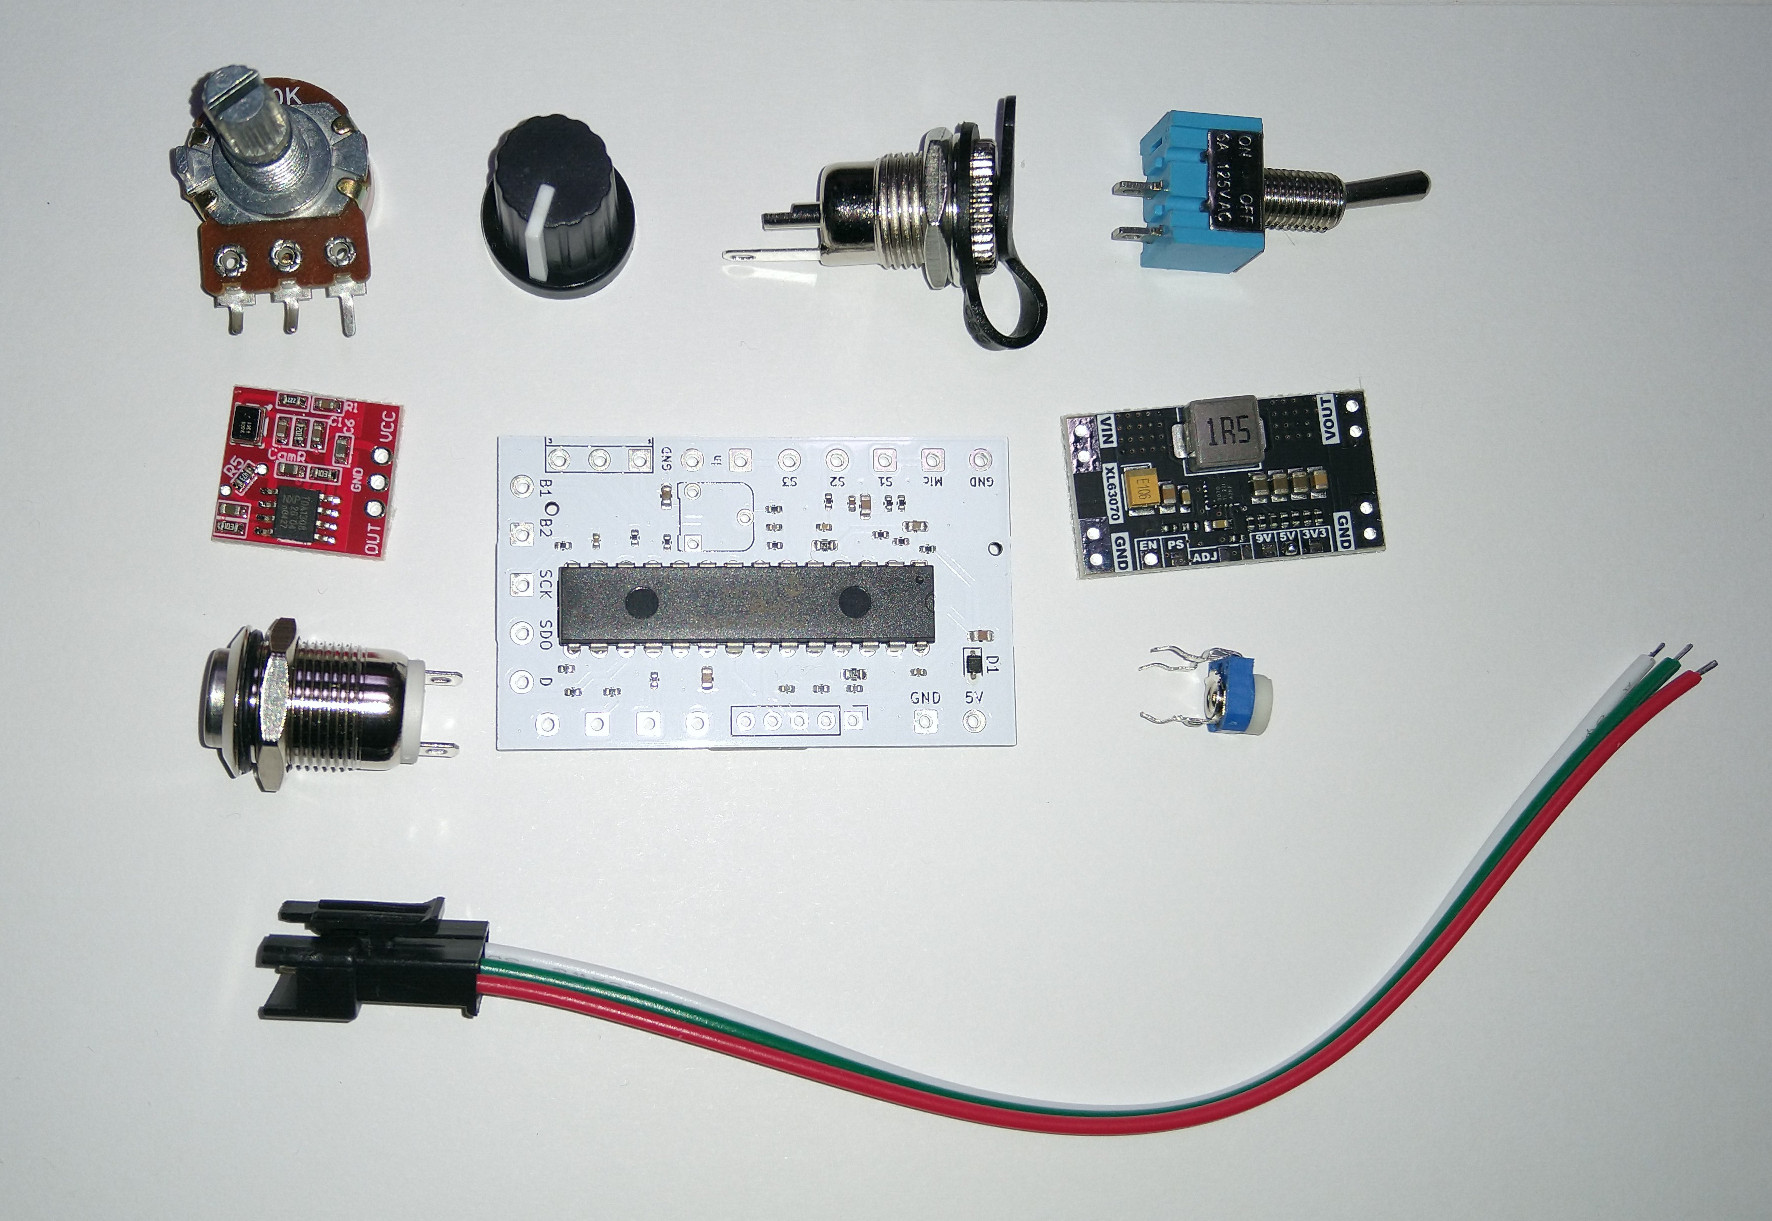
DIY kit for the sound reactive LED Controller. Requires basic soldering experience to wire it together. Includes everything to build the controller except the enclosure and wires. If you need an enclosure, 3D printed ones can be purchased down below. STL files for the enclosure are also provided.
The control board only accepts 5V, but some addressable strips run at 12V. In order to make it compatible with both 5V and 12V strips, a regulator module is provided so you can connect either a 5V or 12V power supply. Alternatively, you can choose a battery charging module instead if you plan to build a battery powered device.
See the build documentation for more information, wiring schematic, and optional add-ons: Click here for the build documentation
See the completed LED controller main page for more info including the user guide: Click here for the LED Controller main page
Kit includes: Controller board Microphone module Control potentiometer and knob Control Button Gain trimpot DC power jack 5.5x2.1mm On-Off switch Battery charger module or PSU regulator module (choose one) 3 pin or 4 pin LED strip connector (choose one)
Two different enclosures are available. The mini enclosure is the default configuration. It doesn't include room for a line input and only supports the microphone. The full size enclosure supports a line input, input selector switch, and optional gain knob. STL files Mini: LED_CTRL_MINI_BODY.stl LED_CTRL_MINI_COVER.stl Full: LED_CTRL_BODY.stl LED_CTRL_COVER.stl Coming soon: Video guide showing how to assemble everything together. It's a tight fit so I suggest waiting for the video if you plan to use the provided enclosure.
Be sure to check out my other products before you go to cart checkout. If you live outside the US please email me first: info@phazertech.com
Have a question or business inquiry? Get in touch!